Your peace of mind starts here
When it comes to protecting your interests, eEvidence is the choice.
Can I configure Office 365 to automatically send all my emails through eEvidence?
If you don't find the wildcard method convenient for delivering your emails through us, you can alternatively use eEvidence as your outgoing SMTP server. In order to do so, you must either choose from authenticating with us with a user name and password from your email client software (standard SMTP AUTH user authentication), or set up an smart host connector from your mail server.
Office 365 does not support SMTP AUTH for routing email messages through a third party email system. In order to achieve this goal, you will need to set up an smart host connector.
Use this guide to set up an eEvidence connector from Office 365. Once enabled, your outgoing emails will flow automatically from Office 365 to us so we can register its contents and delivery to the intended recipients.
This is a three-step set up. First you need to configure your connector and then define a mail flow rule for the connector to apply. Finally, you will need to contact the support team for enabling SPF authentication.
This configuration is only available for Extended plans. If you are currently subscribed to an Scale plan, please consider contacting sales to upgrade your plan.
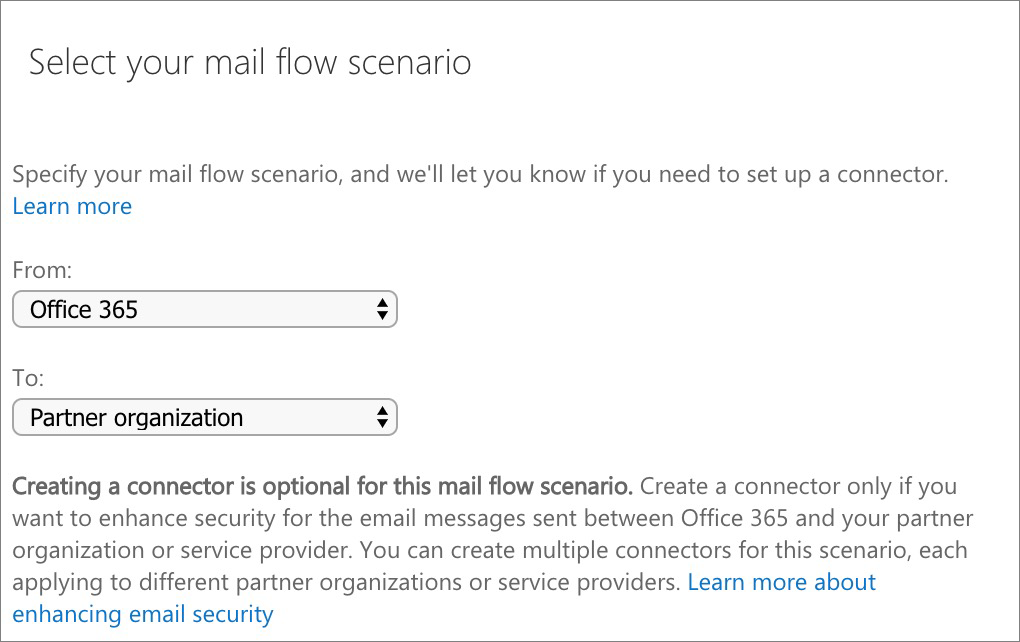
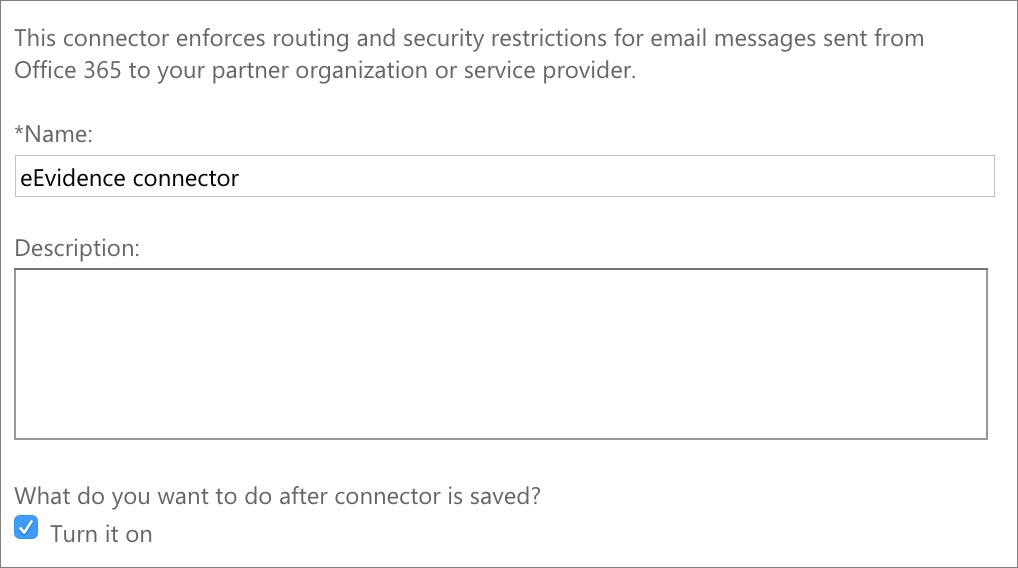
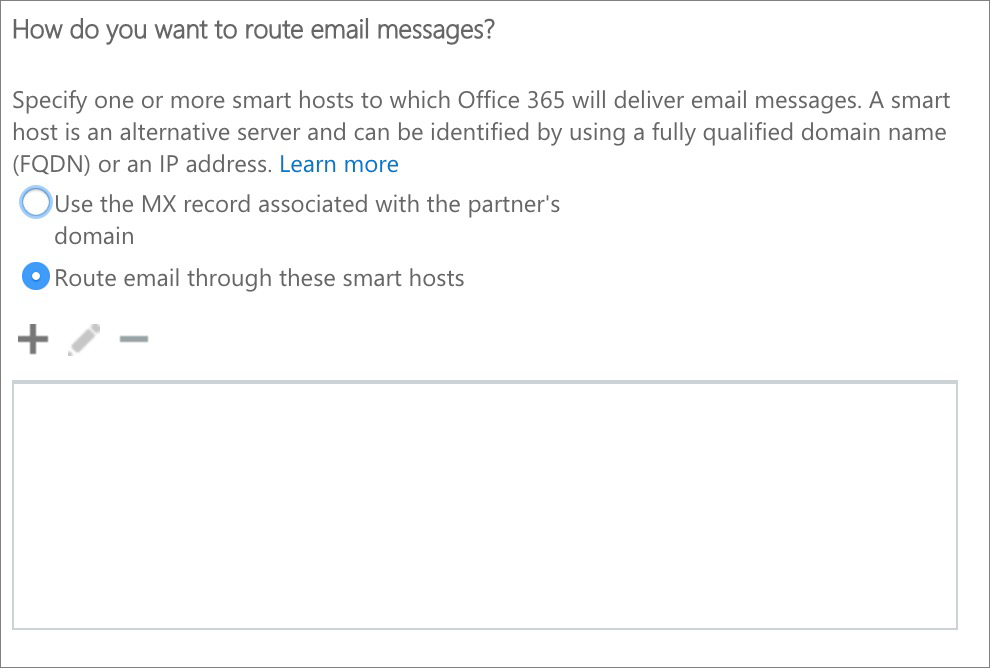
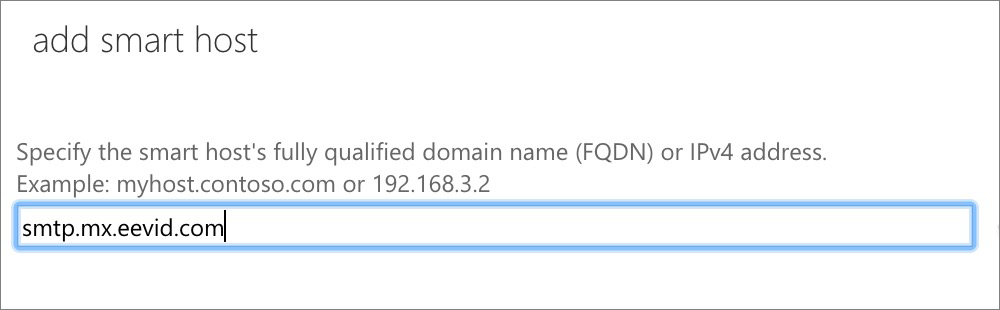
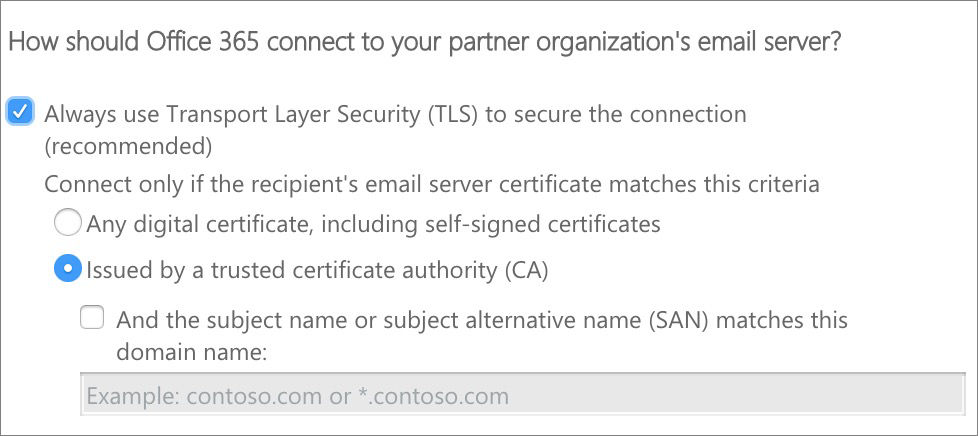
Step 1. Set up the connector
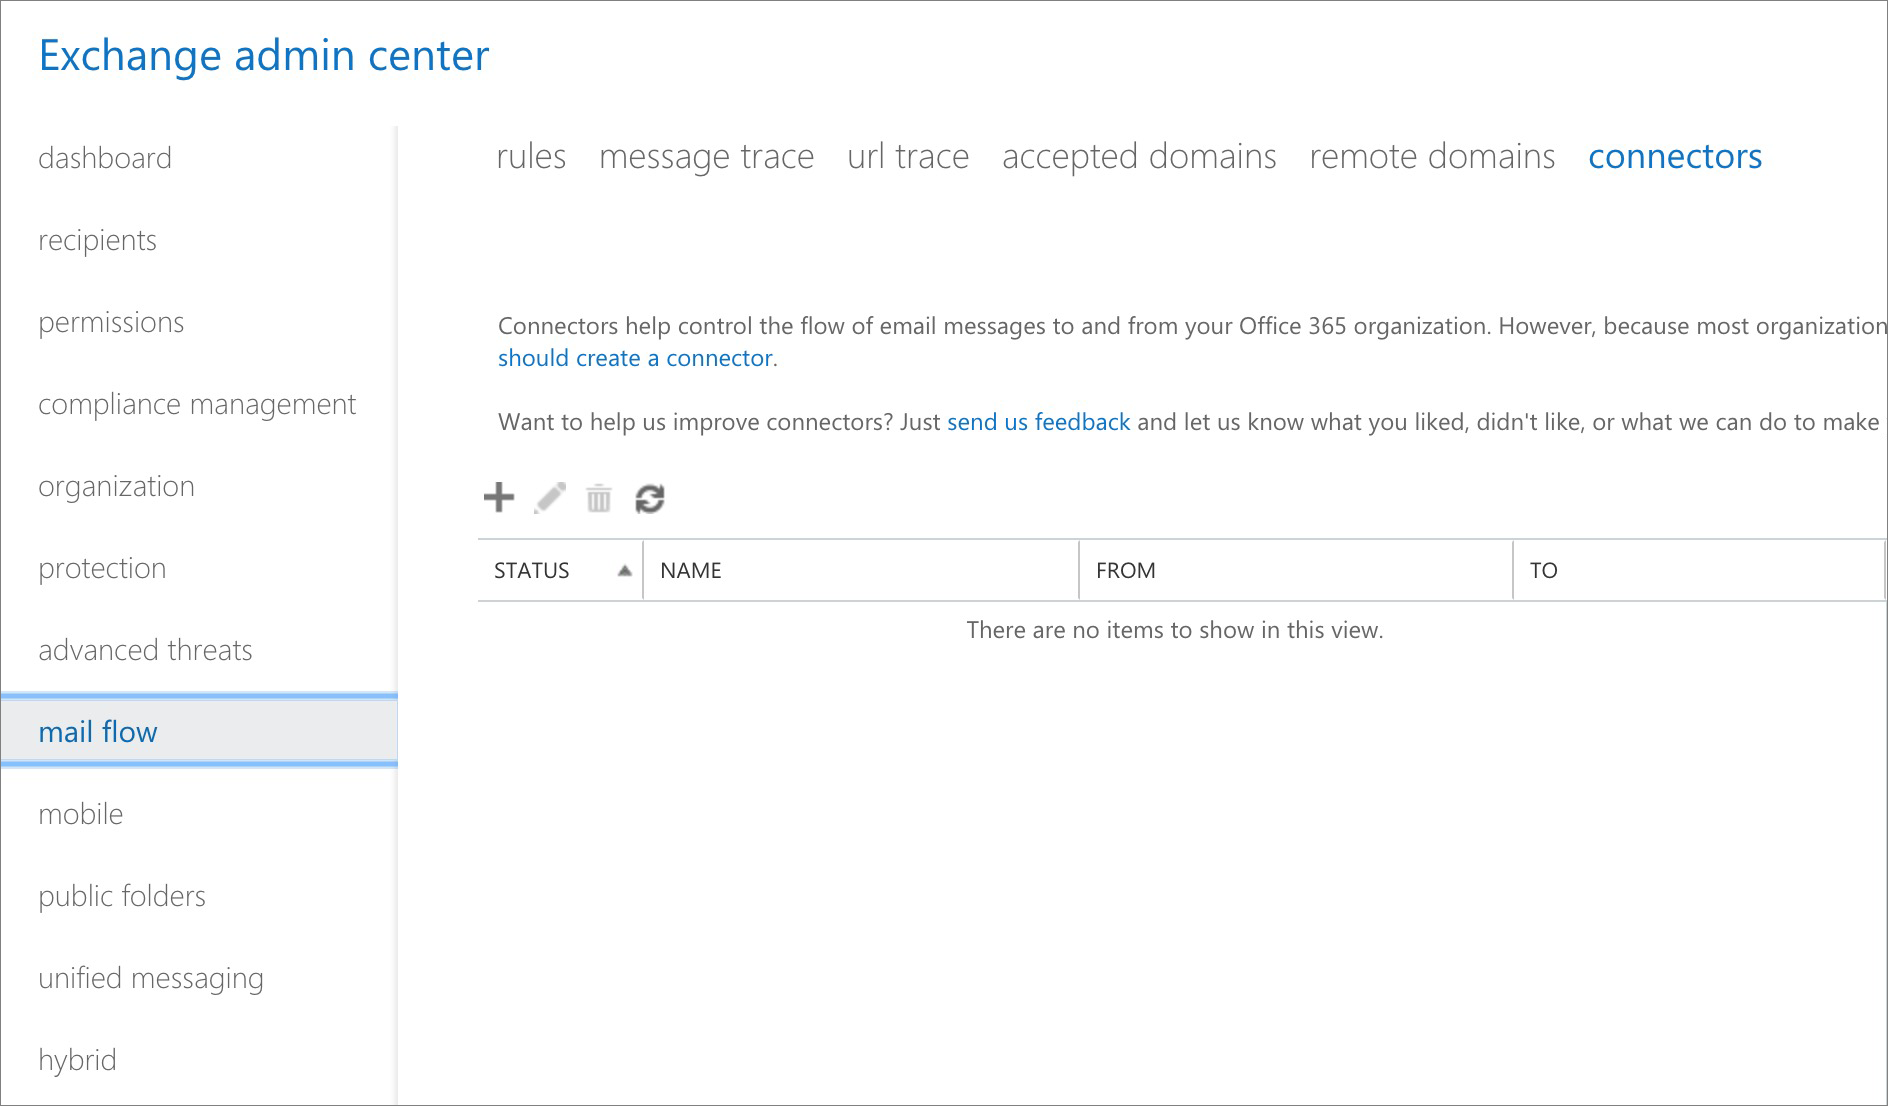
Office 365 will now guide you through a wizard to provide the connector details.

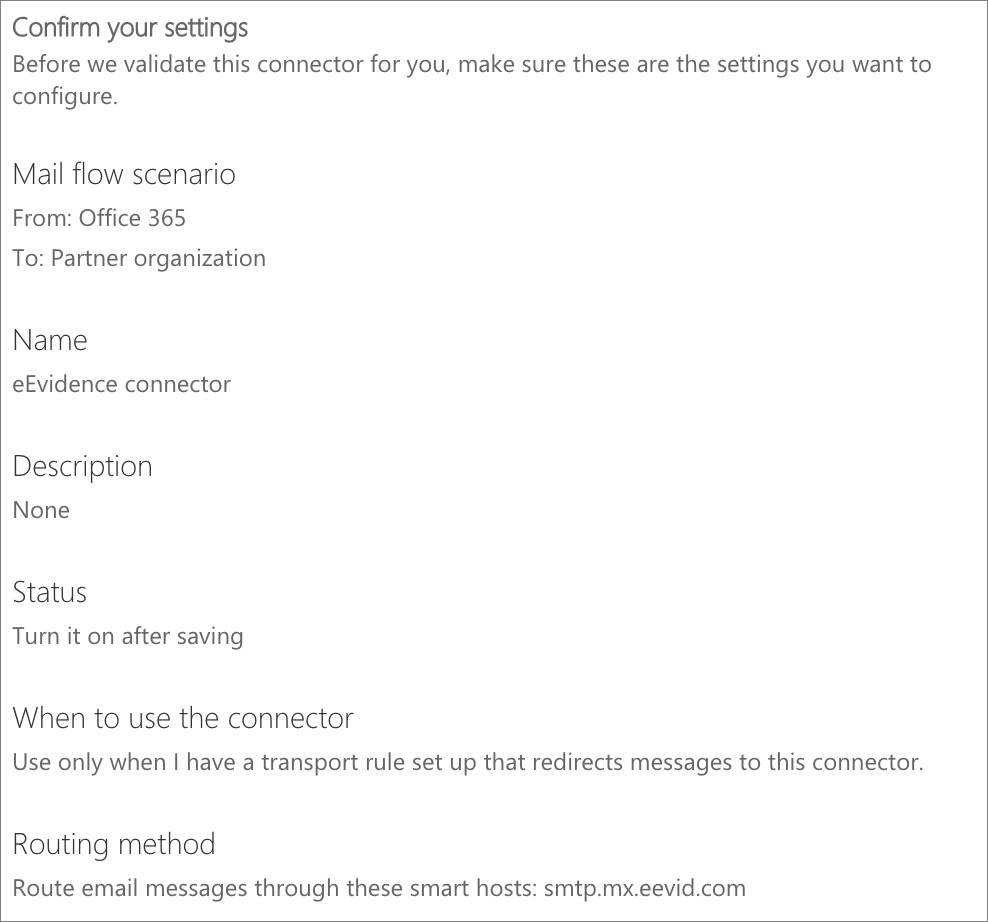
Office 365 will now attempt to validate the connector by asking you to enter a third party email address. Be aware that this validation process will succeed only partially: Office 365 will successfully connect with us through the connector, but will fail passing an email through. The reason for this is because Office 365 will run the test using an email address not registered at eEvidence. Don't worry about it.
As mentioned before, the Validation process won't succeed fully. You can ignore the error in sending the test email.
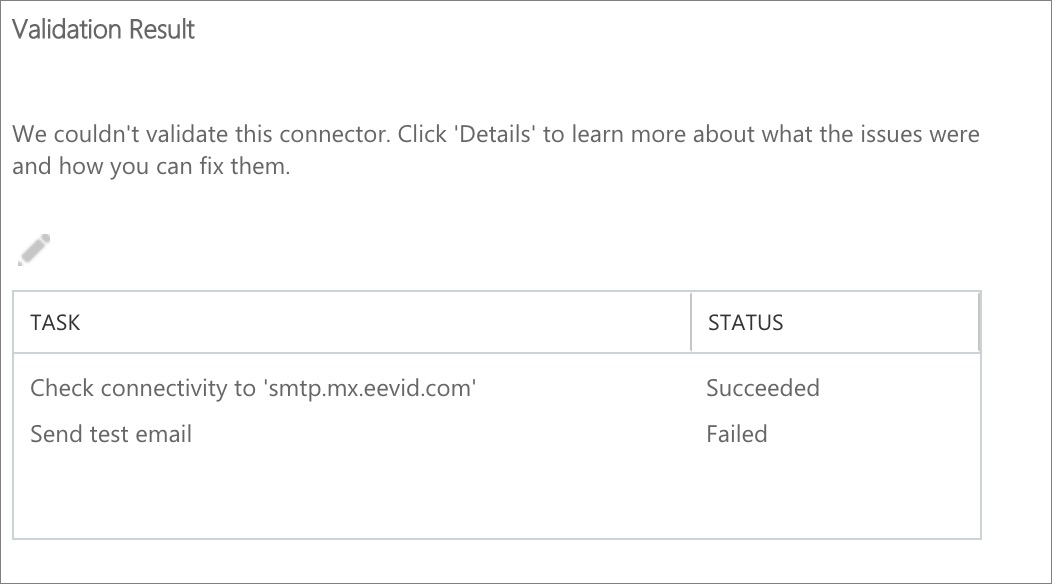
The connector has been set up. Time to enable it for your outgoing emails.
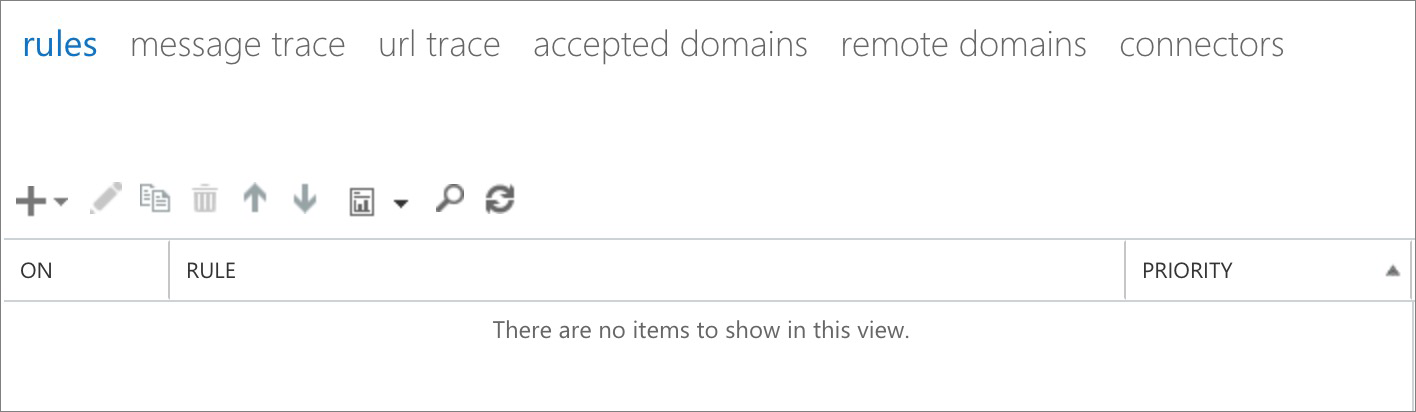
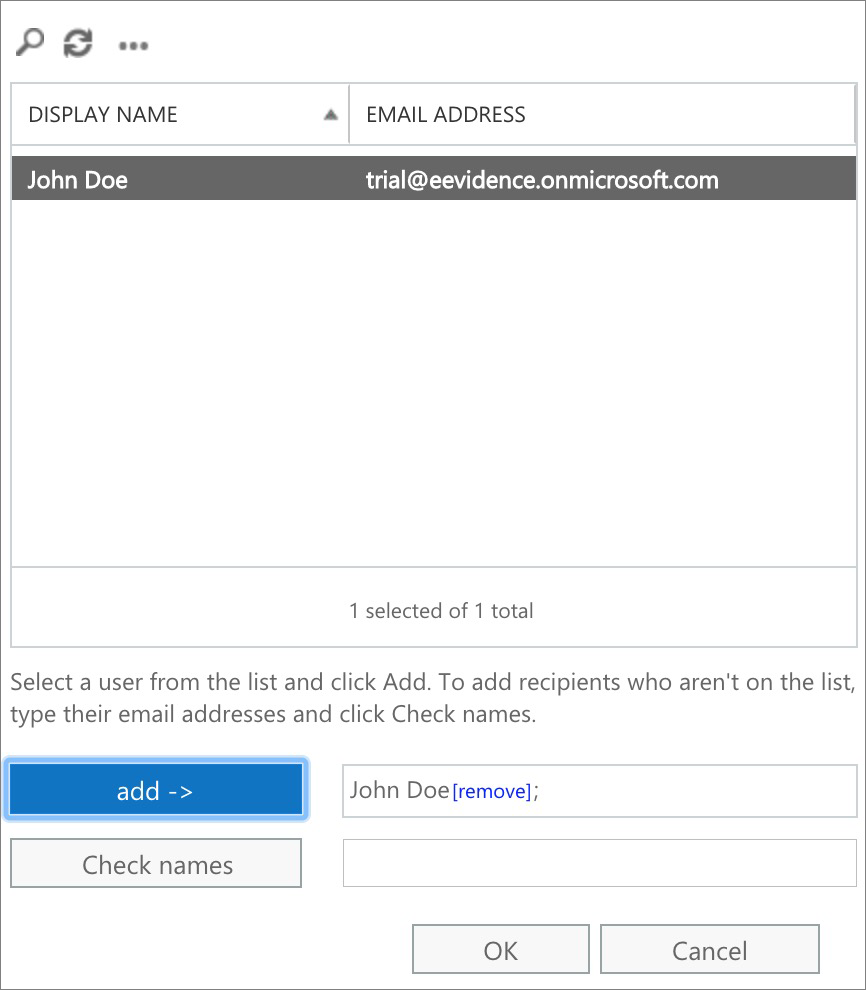
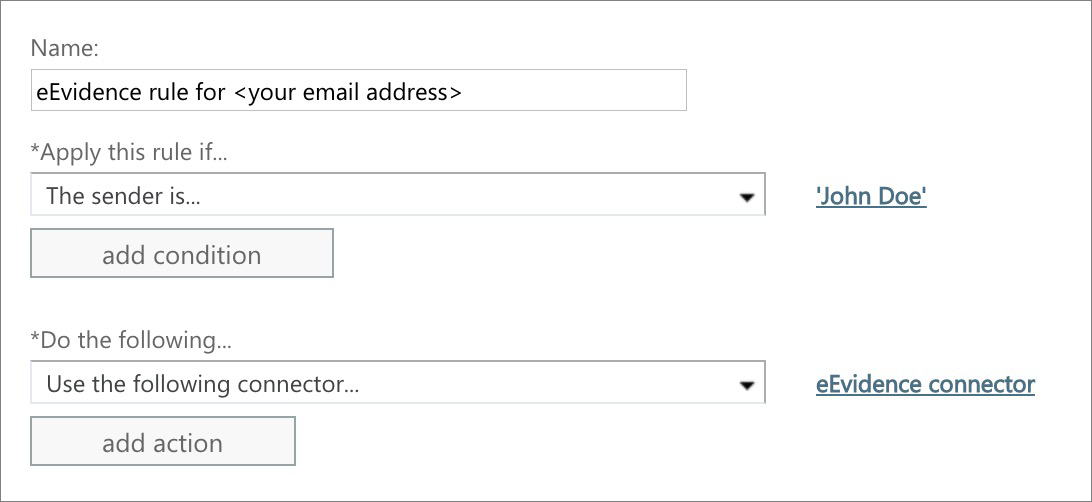
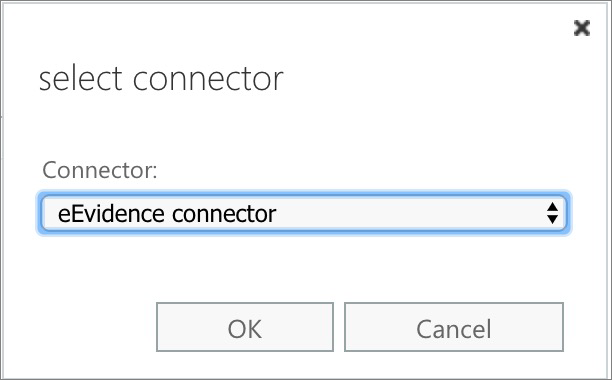
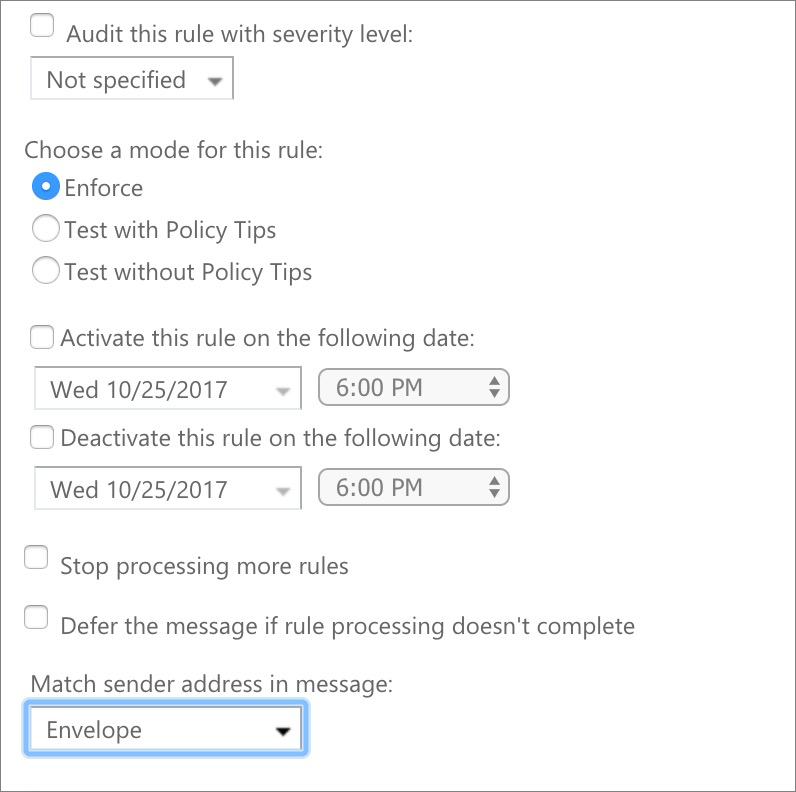
Step 2. Mail flow rule for triggering the connector
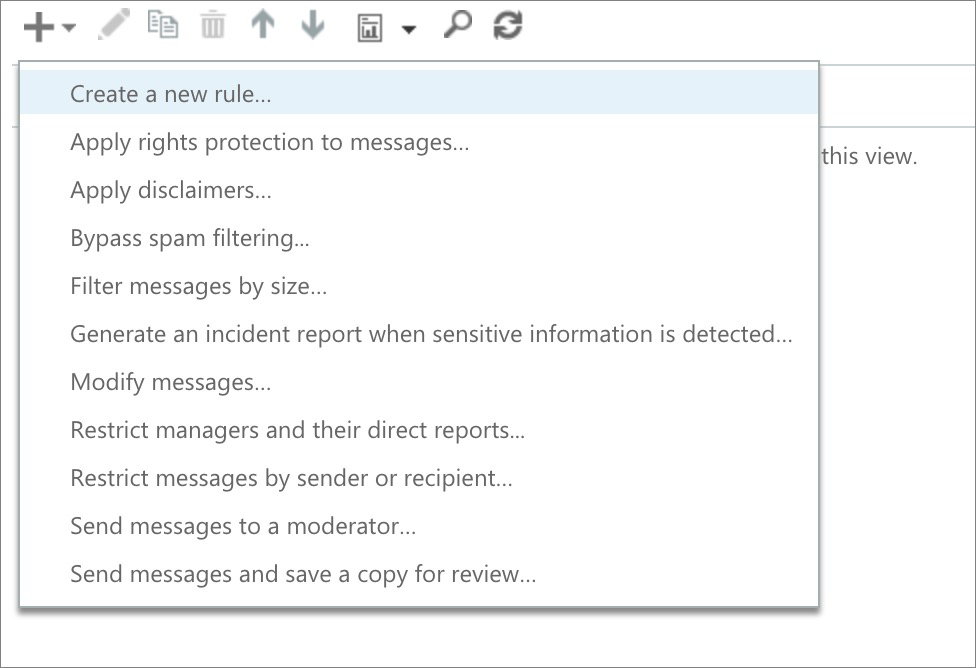
(Note. If you want to use the connector throughout all your organization's users, you may select [Apply to all messages] at the bottom of the first selector and give it a try: we haven't tried this option, so we can't assure this will work as expected.)
Step 3. Contact support to enable SPF authentication
In the absence of SMTP AUTH, we still require a way to authenticate that your emails are legitimate. This can be accomplished by verifying that your emails come from an authorized IP address. In order to do so, please contat support to enable SPF validation for your service.
This is it. Try to send an email from your registered address and see if you get it delivered and registered through us. If your account is set up to receive the evidence receipts via email, receiving back the receipt will confirm the connector is working properly.
When it comes to protecting your interests, eEvidence is the choice.